Problem: Your Local AI Model Is Stuck on Localhost
You're running a local LLM — Ollama, LM Studio, or a custom FastAPI wrapper — and need to share it with a teammate, test a webhook, or access it from your phone. But it only listens on localhost:11434 and the world can't see it.
You'll learn:
- How to expose a local AI model endpoint securely via ngrok
- How to lock it down with bearer token auth so strangers can't abuse it
- How to make the tunnel persistent with a stable domain
Time: 20 min | Level: Intermediate
Why This Happens
Local servers bind to 127.0.0.1 by default — your loopback interface. Traffic from the internet never reaches it. Ngrok solves this by creating an encrypted tunnel from their edge servers to your machine, giving you a public HTTPS URL that proxies to your local port.
The risk: an open tunnel means anyone who finds your URL can hammer your GPU. That's why auth is non-negotiable before you share the link.
Common use cases:
- Sharing a model endpoint with a remote collaborator
- Calling your local LLM from a cloud-hosted app or n8n workflow
- Testing mobile clients that can't hit localhost
Solution
Step 1: Install and Authenticate Ngrok
If you haven't already, install ngrok and connect your account.
# macOS
brew install ngrok

# Linux
curl -sSL https://ngrok-agent.s3.amazonaws.com/ngrok.asc \
  | sudo tee /etc/apt/trusted.gpg.d/ngrok.asc >/dev/null \
  && echo "deb https://ngrok-agent.s3.amazonaws.com buster main" \
  | sudo tee /etc/apt/sources.list.d/ngrok.list \
  && sudo apt update && sudo apt install ngrok

# Windows (via Chocolatey)
choco install ngrok
Then authenticate with your ngrok token (free at ngrok.com):
ngrok config add-authtoken YOUR_AUTHTOKEN_HERE
Expected: Authtoken saved to configuration file: ~/.config/ngrok/ngrok.yml
If it fails:
- "command not found": Restart your Terminal or check your PATH
- "invalid token": Copy the token fresh from your ngrok dashboard — don't include extra whitespace
Step 2: Make Sure Your Model Is Running
Before tunneling, confirm your local model is actually listening.
# For Ollama (default port 11434)
curl http://localhost:11434/api/tags

# For LM Studio (default port 1234)
curl http://localhost:1234/v1/models

# For a custom FastAPI / uvicorn server
curl http://localhost:8000/health
Expected: A JSON response listing your available models. If you get Connection refused, start your model server first.
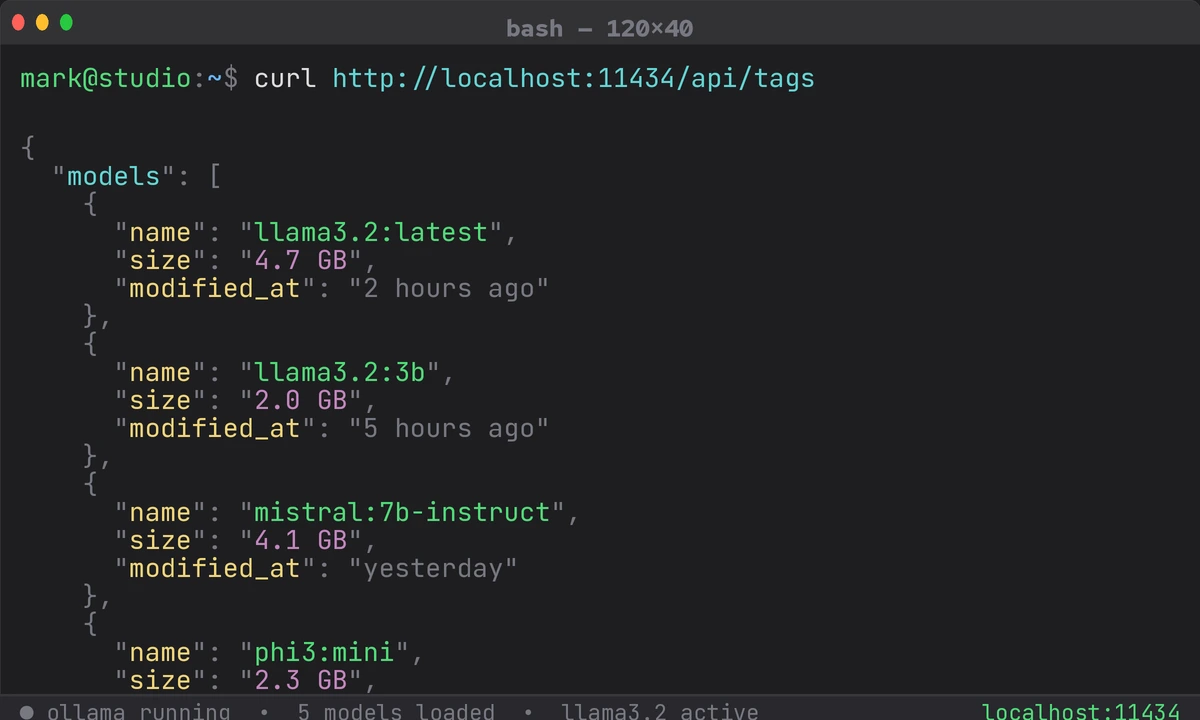 Ollama returning available models on localhost — confirm this before tunneling
Step 3: Open the Tunnel
Start ngrok pointing at your model's port.
# Ollama
ngrok http 11434

# LM Studio
ngrok http 1234

# Custom server
ngrok http 8000
Expected output in the ngrok console:
Forwarding https://a1b2-203-0-113-42.ngrok-free.app -> http://localhost:11434
Your model is now reachable at that HTTPS URL. But — stop here before sharing it. Without auth, it's wide open.
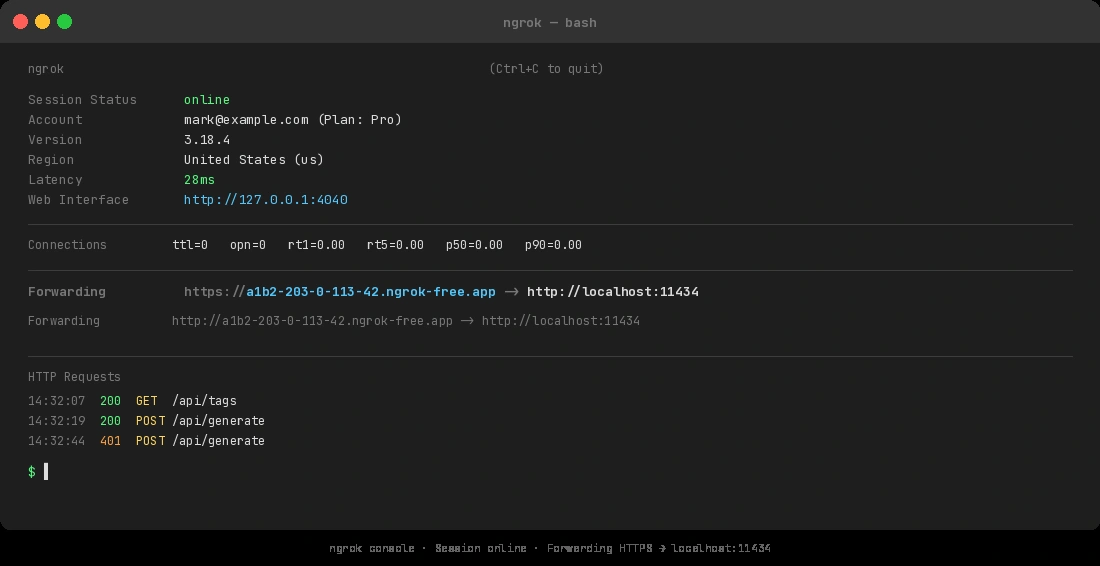 The Forwarding line gives you your public URL — copy it but don't share it yet
Step 4: Add Bearer Token Authentication
Create or edit ~/.config/ngrok/ngrok.yml to add an auth header policy. This rejects any request that doesn't include your secret token.
# ~/.config/ngrok/ngrok.yml
version: "3"
authtoken: YOUR_AUTHTOKEN_HERE

tunnels:
  local-ai:
    proto: http
    addr: 11434
    # Require a bearer token on all incoming requests
    traffic_policy:
      inbound:
        - actions:
            - type: restrict-ips
              config:
                enforce: true
                allow: []  # Optional: add your IP CIDR ranges here
        - expressions:
            - "req.headers['authorization'] != 'Bearer YOUR_SECRET_TOKEN'"
          actions:
            - type: deny
              config:
                status_code: 401
Generate a strong token before you paste it in:
# Generate a 32-byte hex secret
openssl rand -hex 32
Start the named tunnel:
ngrok start local-ai
Expected: Same forwarding output, but now unauthenticated requests get 401 Unauthorized.
Test it:
# Should fail
curl https://your-tunnel-url.ngrok-free.app/api/tags

# Should succeed
curl -H "Authorization: Bearer YOUR_SECRET_TOKEN" \
  https://your-tunnel-url.ngrok-free.app/api/tags
If it fails:
- YAML parse error: Check indentation — YAML is whitespace-sensitive
- Policy not applying: Confirm you're on ngrok's paid tier; traffic policies require a Pro plan or above
Step 5: Reserve a Stable Domain (Optional but Recommended)
Free ngrok tunnels get a random URL every restart. If you need a consistent endpoint, reserve a static domain in your ngrok dashboard, then reference it in your config:
tunnels:
  local-ai:
    proto: http
    addr: 11434
    domain: my-ai-model.ngrok.app  # Your reserved domain here
    traffic_policy:
      inbound:
        - expressions:
            - "req.headers['authorization'] != 'Bearer YOUR_SECRET_TOKEN'"
          actions:
            - type: deny
              config:
                status_code: 401
Static domains are available on ngrok's free tier — one per account.
Step 6: Call Your Tunneled Model
With the tunnel running, hit it from anywhere just like the OpenAI API.
from openai import OpenAI

client = OpenAI(
    base_url="https://your-tunnel-url.ngrok-free.app/v1",  # Your ngrok URL + /v1
    api_key="YOUR_SECRET_TOKEN",  # ngrok validates this as the bearer token
)

response = client.chat.completions.create(
    model="llama3.2",  # Whatever model you have loaded
    messages=[{"role": "user", "content": "Hello from the internet!"}],
)

print(response.choices[0].message.content)
Why this works: The OpenAI SDK sends Authorization: Bearer YOUR_SECRET_TOKEN automatically when you pass it as api_key. Ngrok's policy validates it, then forwards the request to your local Ollama or LM Studio instance.
Verification
Run a full end-to-end test from a different machine or a phone hotspot (so you're genuinely going through the internet, not localhost):
curl -X POST https://your-tunnel-url.ngrok-free.app/api/generate \
  -H "Authorization: Bearer YOUR_SECRET_TOKEN" \
  -H "Content-Type: application/json" \
  -d '{"model": "llama3.2", "prompt": "Say hello", "stream": false}'
You should see: A JSON response with a response field containing generated text and no errors.
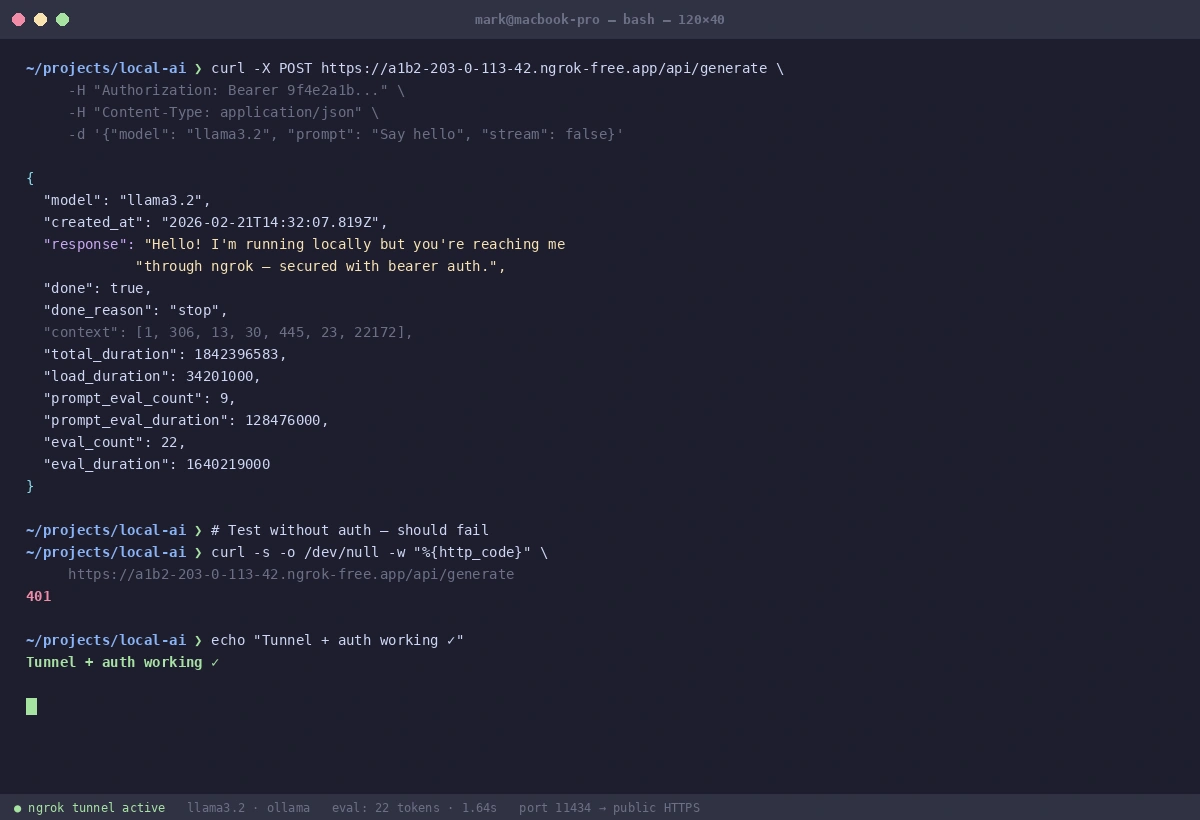 A clean JSON response confirms your tunnel, auth, and model are all working correctly
What You Learned
- Ngrok tunnels your local port through an encrypted connection to a public HTTPS URL
- Traffic policies (bearer token auth) are essential — never share an open tunnel URL
- The OpenAI SDK's
api_keyparameter doubles as your bearer token when pointed at ngrok - Static domains prevent your URL from changing on every restart
Limitations to know:
- Ngrok free tier has bandwidth and connection limits — fine for testing, not for production load
- Traffic policies require Pro plan and above; on free tier, use ngrok's basic HTTP auth (
basic_authkey) as a fallback - Your model is only reachable while ngrok is running — add it to a startup script if you need persistence
When NOT to use this:
- Running inference for more than a small team — use a proper cloud GPU instead
- Storing sensitive data in prompts — your traffic transits ngrok's servers
- Production deployments — this is a development and collaboration tool
Tested with Ollama 0.5.x, LM Studio 0.3.x, ngrok 3.x on macOS Sequoia and Ubuntu 24.04